Tutorials
How to Install the Facebook Pixel
This snippet of JavaScript code is essential for companies who run Facebook advertising campaigns. By making use of that pixel, you will be able to create remarketing campaigns, targeting groups of people you want to re-engage, because they are already familiar with your company's offer.
We will make use of Google's Tag Manager technology, so you will need to have it set up first. Check the "Getting Started with Google Tag Manager", also available as a sample on our website, to get step-by-step instructions on how to do that. You will also need to have a Facebook ads account to follow along. Let's dive in!
1. Install the Facebook Pixel Helper, a tool that will allow you to verify if the pixel was set up properly.
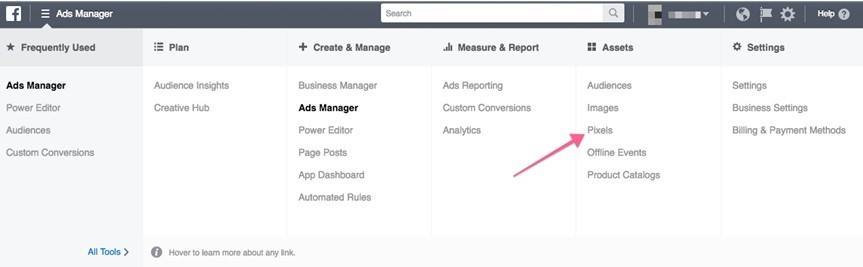
2. Log into Facebook, and then choose the Ads Manager from the left side menu. Choose "Pixels" from the "Assets" tab, as highlighted below.
3. Click the green button to create a new pixel.
Give the pixel a name that's easy to remember. You will be able to rename it later, if you want to.
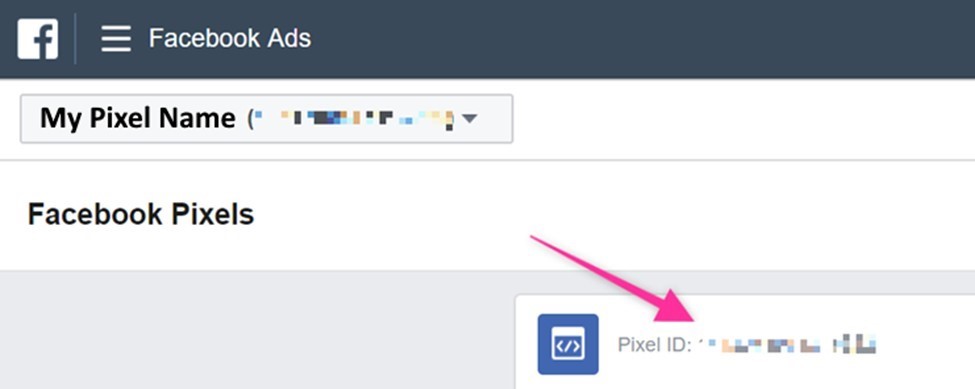
4. Then, select the pixel you've just created.
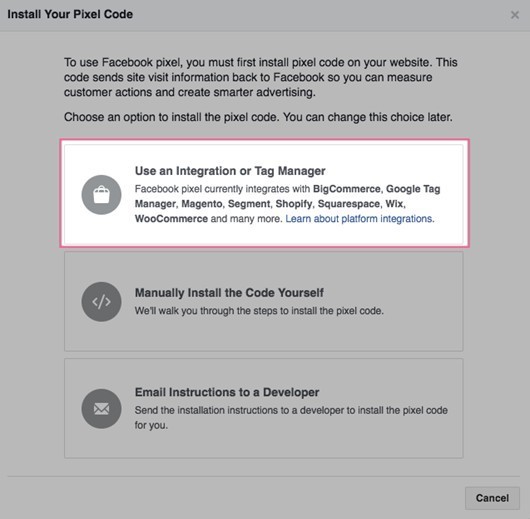
5. Click the "Set up" button; you will be given three options to choose from. Pick "Use an Integration or Tag Manager".
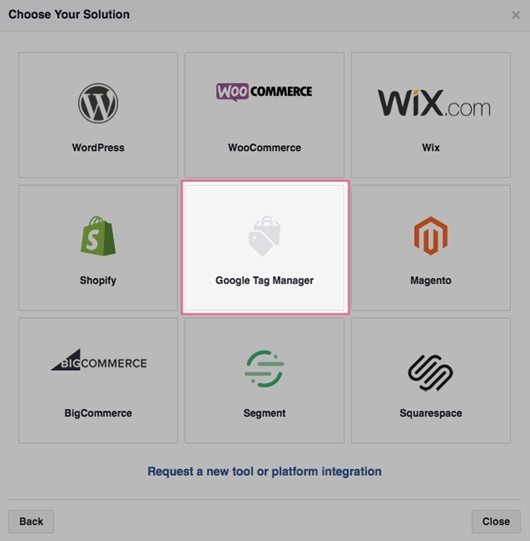
6. Then, choose "Google Tag Manager".
7. Select "Quick Install", the option which will publish the JavaScript code straight to the Google Tag Manager. To start, sign in into the Google account you intend to use, and then allow Facebook to use it.
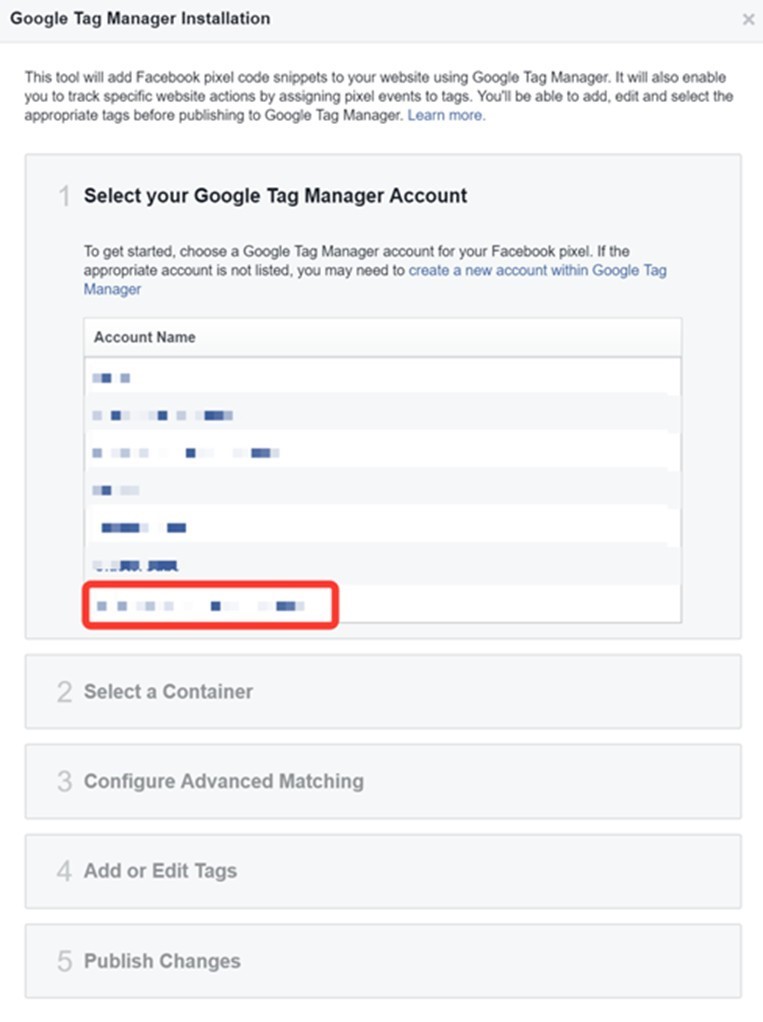
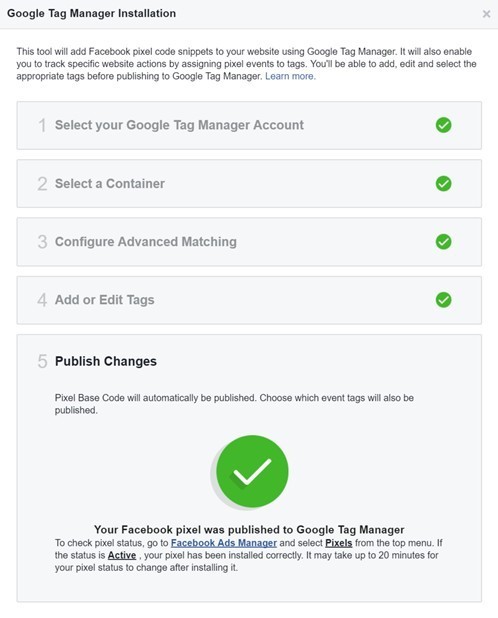
8. If everything works as expected, you will see the Google Tag Manager listed in the "Google Tag Manager Installation" window. If you have several accounts, make sure to pick the proper one.
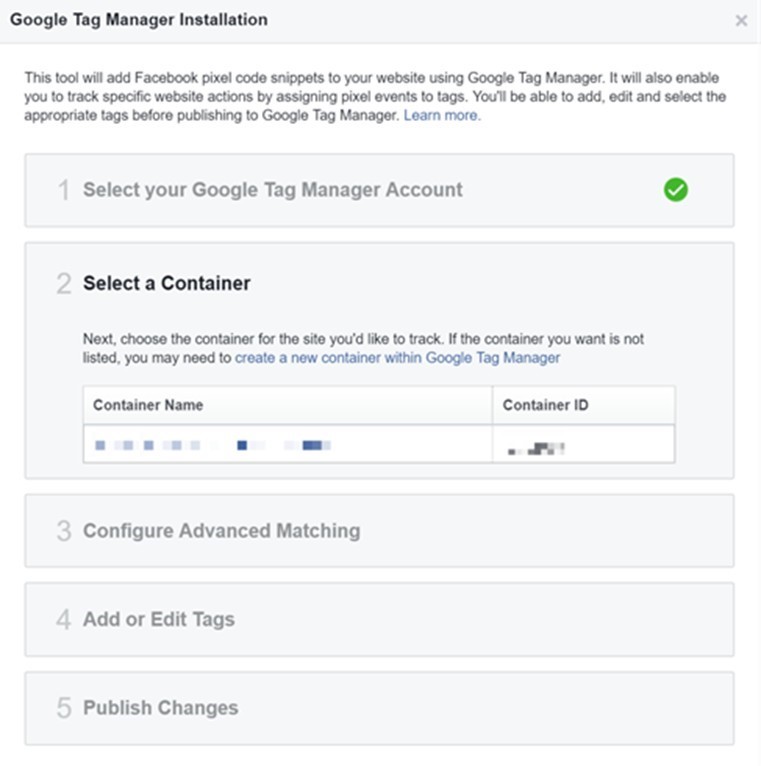
9. It's time to choose the desired container.
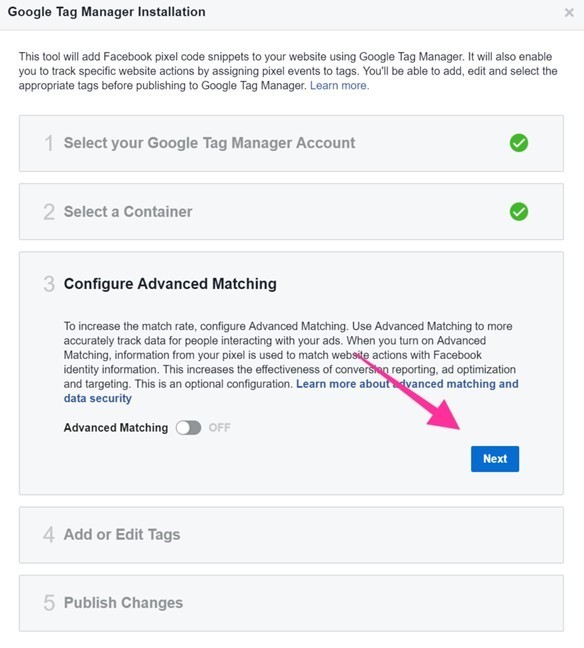
10. If you use Google's Tag Manager for the first time, it's best to keep the "Advanced Matching" switch toggled to "OFF", the way I did it in the picture below. Then, click the blue "Next" button.
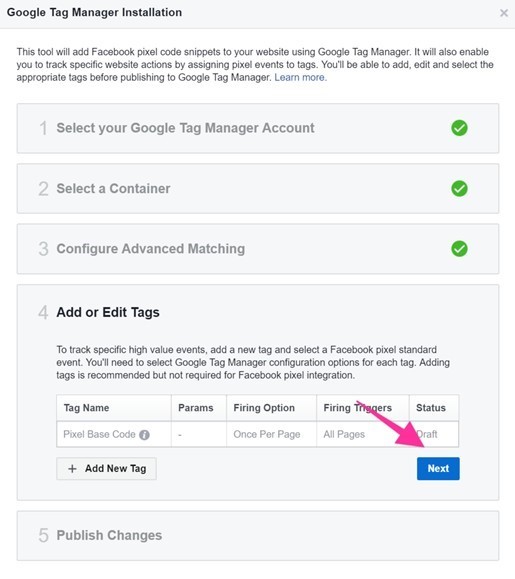
11. The following step allows you to add tags or edit existing tags. We're only interested in setting up our pixel code, so we will ignore this option for now.
12. Let's hit the "Publish" button; our Facebook pixel will be published to the Google Tag Manager as soon as we do that.
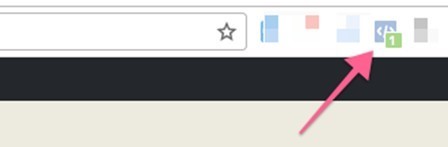
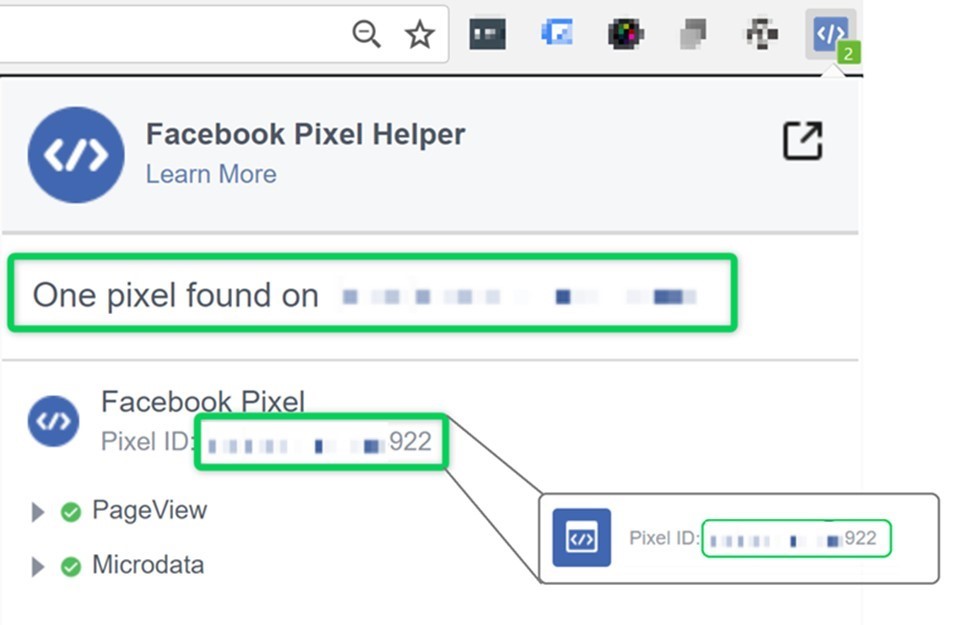
13. It's time to verify if the pixel works properly. Open the website using a Chromium-based browser, and then click the Chrome extension we've installed at the very beginning of this SOP.
14. This will open a window which shows that the pixel is installed; its ID should match what you're seeing in Facebook's Ad Manager section.